Inspectors in SwiftUI
What I love most about SwiftUI is how the same code adapts to the environment and provides platform-specific solutions. This is how SwiftUI allows us to run the same code on all Apple platforms available on the market. This week, we will talk about inspectors, another API that perfectly adapts the platform it is running for.
Compare designs, show rulers, add a grid, quick actions for recent builds. Create recordings with touches & audio, trim and export them into MP4 or GIF and share them anywhere using drag & drop. Add bezels to screenshots and videos. Try now
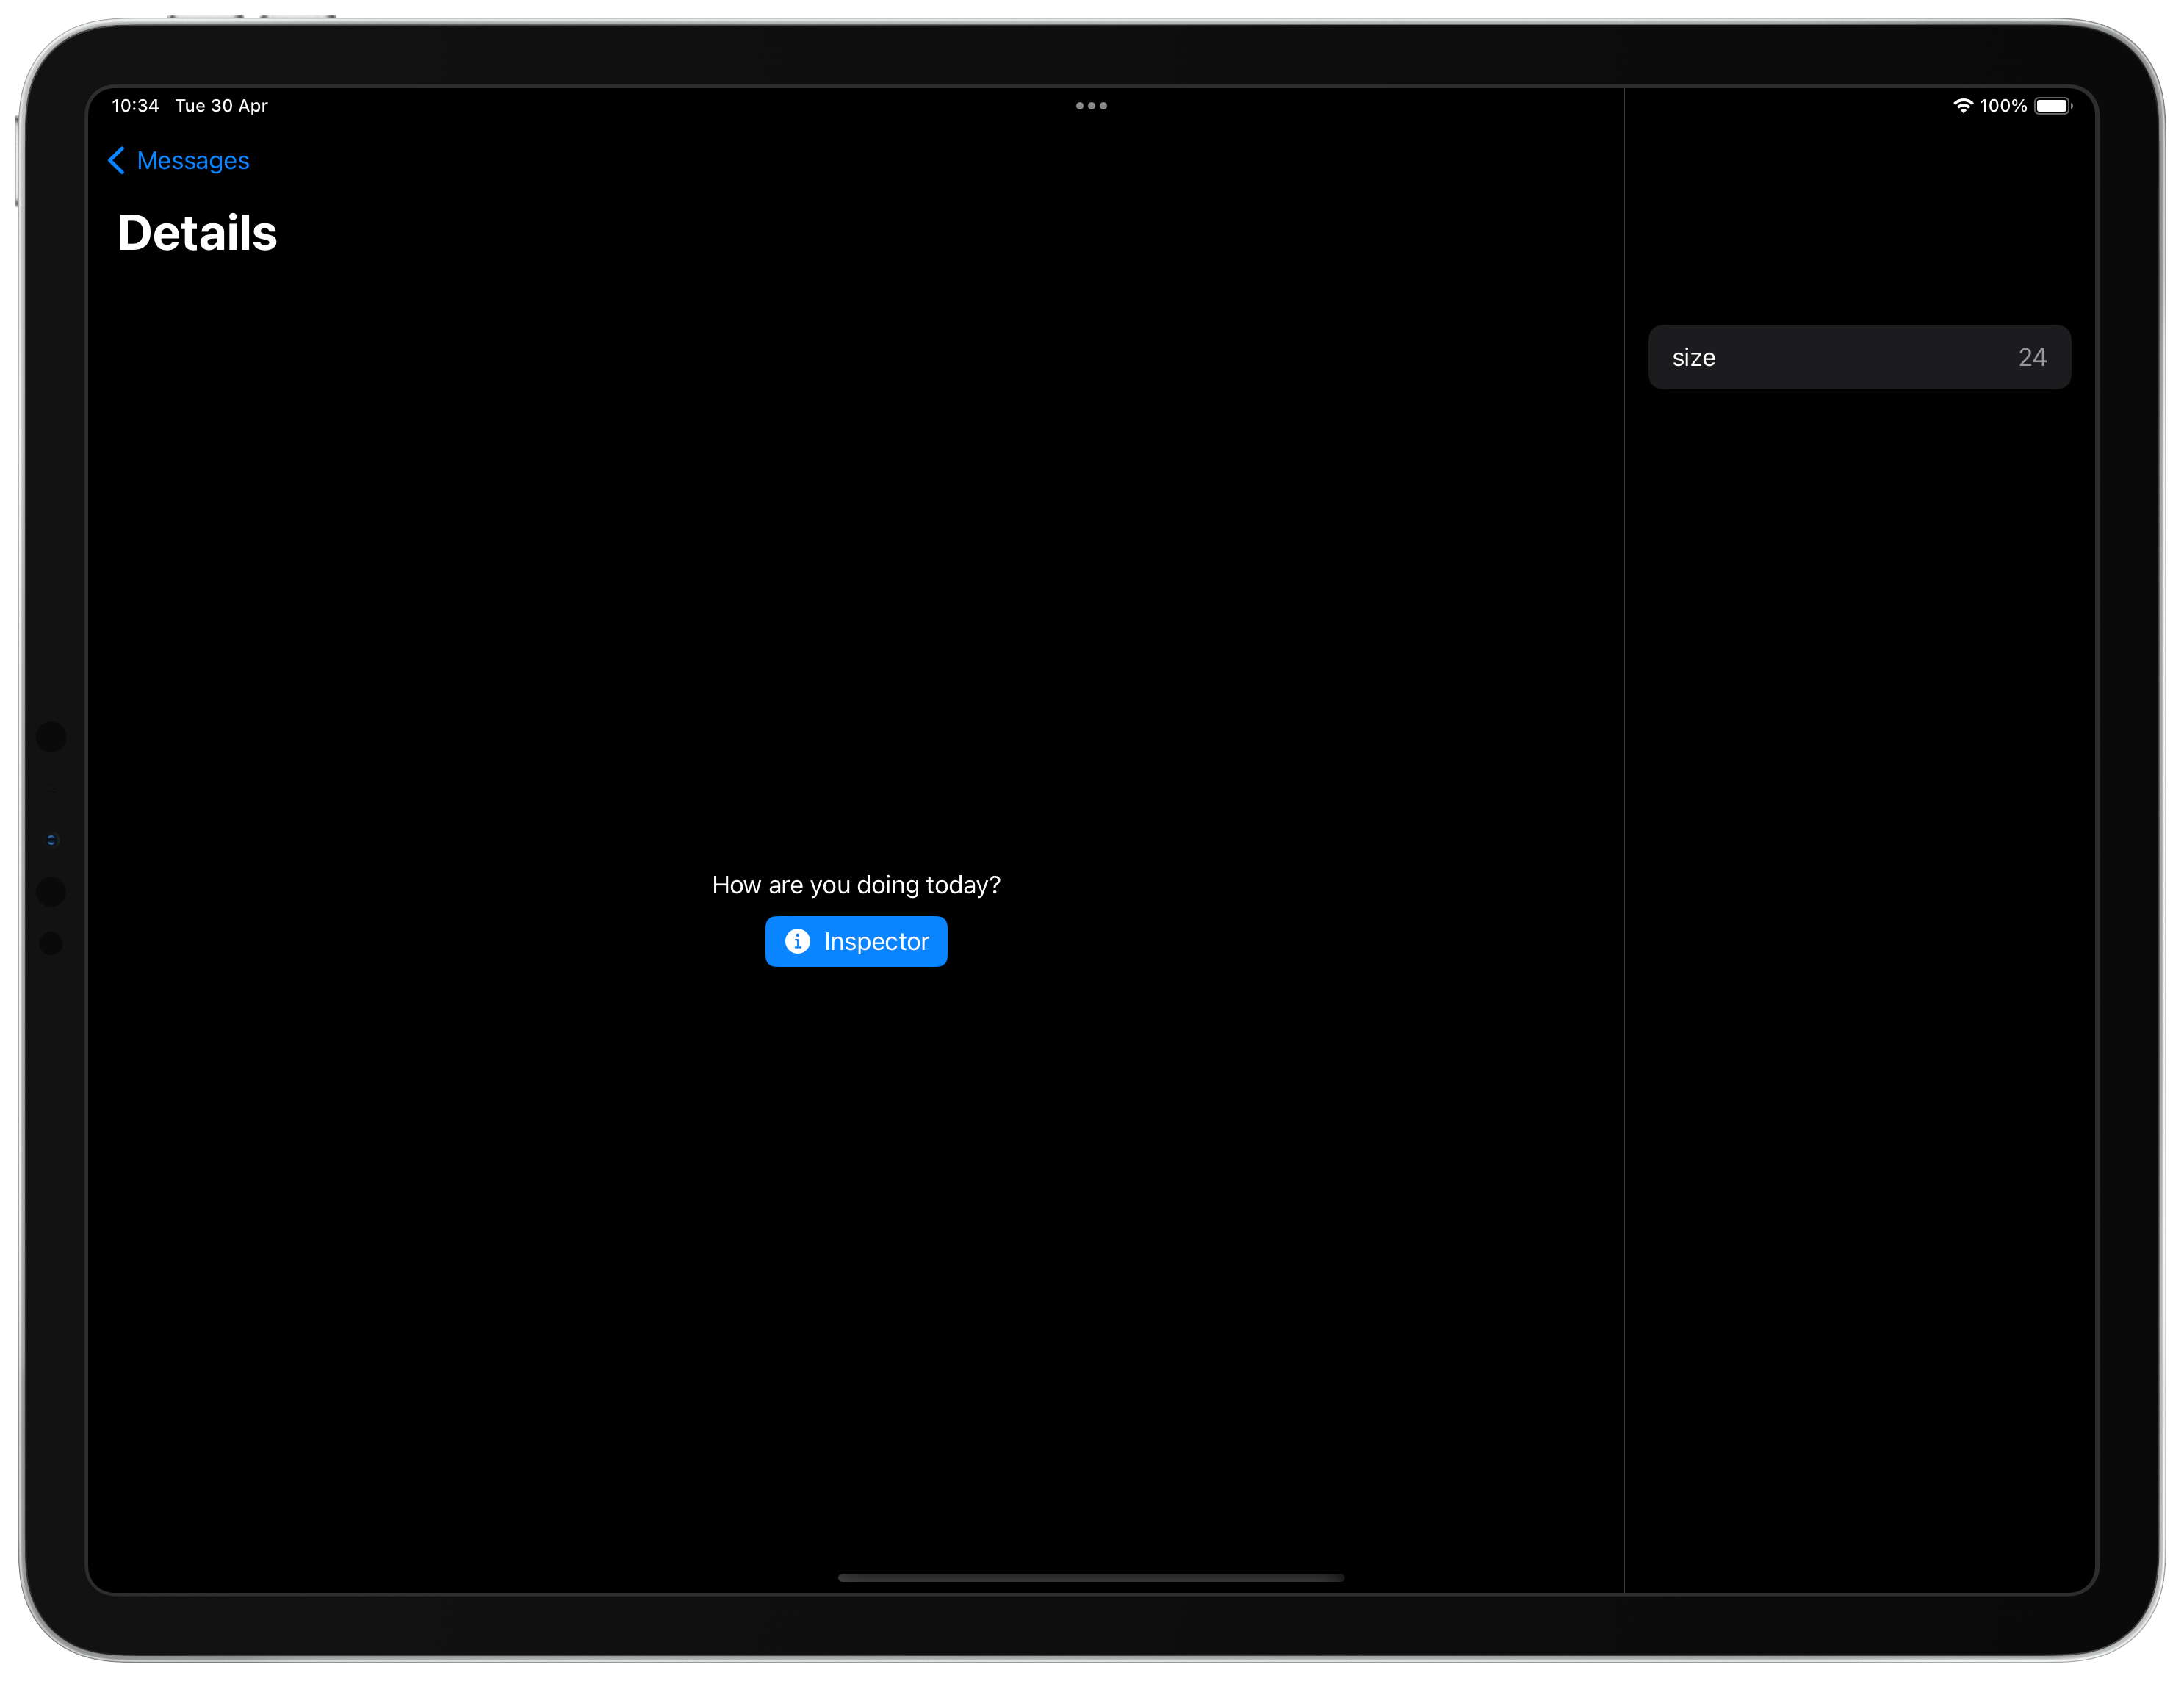
Inspector is a context-dependent presentation. It appears as a sheet in a compact environment, whereas it displays a trailing column in your view hierarchy in a regular environment. The SwiftUI API for inspectors looks very similar to the sheet API. Let’s take a look at the simple example.
struct ItemDetailsView: View {
    let item: String
    @State private var inspectorShown = false

    var body: some View {
        VStack {
            Text(verbatim: item)
            Button {
                inspectorShown = true
            } label: {
                Label("Inspector", systemImage: "info.circle.fill")
            }
            .buttonStyle(.borderedProminent)
        }
        .navigationTitle("Details")
        .inspector(isPresented: $inspectorShown) {
            Form {
                LabeledContent("size", value: item.count.formatted())
            }
            .navigationTitle("Inspector")
        }
    }
}
To learn more about other presentational view modifiers in SwiftUI, take a look at my “Alerts, Action Sheets, Modals and Popovers in SwiftUI” post.
As you can see in the example above, the inspector view modifier works similarly to the sheet view modifier. It also needs the isPresenting binding to control its visibility. The SwiftUI framework allows us to tune the width of the inspector view by using the inspectorColumnWidth view modifier.
struct ItemDetailsView: View {
    let item: String
    @State private var inspectorShown = false

    var body: some View {
        VStack {
            Text(verbatim: item)
            Button {
                inspectorShown = true
            } label: {
                Label("Inspector", systemImage: "info.circle.fill")
            }
            .buttonStyle(.borderedProminent)
        }
        .navigationTitle("Details")
        .inspector(isPresented: $inspectorShown) {
            Form {
                LabeledContent("size", value: item.count.formatted())
            }
            .inspectorColumnWidth(min: 100, ideal: 150, max: 200)
            .navigationTitle("Inspector")
        }
    }
}
Remember that you can control the width only in a regular environment, such as an iPad in landscape or a Mac app. Customize the inspector to the bottom sheet on an iPhone using sheet-related view modifiers.
struct ItemDetailsView: View {
    let item: String
    @State private var inspectorShown = false

    var body: some View {
        VStack {
            Text(verbatim: item)
            Button {
                inspectorShown = true
            } label: {
                Label("Inspector", systemImage: "info.circle.fill")
            }
            .buttonStyle(.borderedProminent)
        }
        .navigationTitle("Details")
        .inspector(isPresented: $inspectorShown) {
            Form {
                LabeledContent("size", value: item.count.formatted())
            }
            .inspectorColumnWidth(min: 100, ideal: 150, max: 200)
            .presentationDetents([.medium, .large])
            .presentationBackgroundInteraction(.enabled)
            .navigationTitle("Inspector")
        }
    }
}
To learn more about bottom sheet API in SwiftUI, take a look at my “Bottom sheet API in SwiftUI” post.
Whenever you use inspectors in the SwiftUI app, you can add commands to your scene to enable inspector-based keyboard shortcuts, such as show/hide inspector. The SwiftUI framework allows us to insert inspector keyboard shortcuts using the InspectorCommands type easily.
@main
struct MyApp: App {
    var body: some Scene {
        WindowGroup {
            ContentView()
        }
        .commands {
            InspectorCommands()
        }
    }
}
As you can see in the example above, we use the commands modifier to add an instance of the InspectorCommands type to our scene. It enables keyboard shortcuts, allowing us to manipulate the inspector whenever the current view uses the inspector view modifier.
I love the SwiftUI features, which allow me to run the same code on different platforms by adopting best practices without modifying the code for the particular operating system.
Scenes, navigation, and toolbar APIs allow you to write the same code to provide a platform-agnostic experience for your users. I hope you enjoy the post. Feel free to follow me on Twitter and ask your questions related to this post. Thanks for reading, and see you next week!